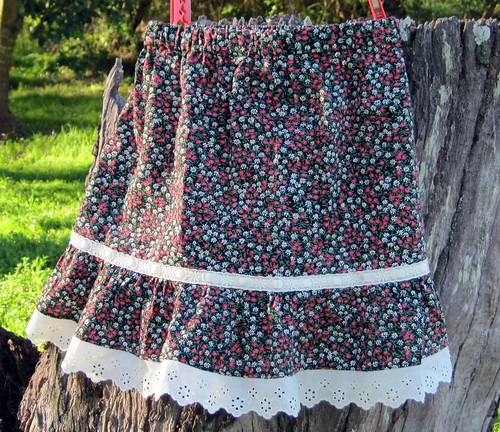
This was one of those easy little projects that was just a joy to create. No pattern required. All fabric and trims from stash. What's not to love?
Should there be anyone wishing to make their own little skirt like this it's just a matter of...
1 - measure your little one around the hips, add 15cm and that is the width of the upper skirt. Measure from waist to knees, add 3cm for the waistband casing and 1cm for the seam where the upper skirt joins the lower skirt and that's your length.
2 - cut a ruffle strip however long you want it and twice the width of the upper skirt.
3 - overlock your chosen trim to the bottom strip of the skirt, press the seam up and topstitch it down. Gather the upper edge of this strip so that it is the same width as the upper skirt.
4 - sew the ruffled strip to the upper skirt, overlock and press the seam up toward the top of the skirt. Lay your trim over the seam and stitch down. My trim is a broderie insertion lace and I stitched that down first then threaded the ribbon through using a safetey pin......note to self must get a bodkin!!
5 - overlock the top of the skirt.
6 - sew up the side seams.
7 - turn down the waistband casing and stitch leaving a small opening for the elastic...then thread the elastic, sew up the ends and sew closed the opening (don't forget to try the skirt on before you close up the opening - I've been caught out that way a few times and had to unpick).
And that's it!!
Should anyone have any questions or if any of these steps are unclear please feel free to leave a comment and ask.
No comments:
Post a Comment